3D Printing Prototypes: Spider-Man Armor
Tuesday, September 21, 2021
It's generally agreed that one of the goals of any parent is to provide for their kids what they didn't or couldn't have. And with my parents providing more than enough for my siblings and I, the bar was set pretty high for what I would provide for my children. Luckily for me, 3D printing technologies have really soared since I was a child.
With the ability to make close to anything, the question that remained was just what should I make? Well, my choice was actually pretty easy. One of my children's favorite toys is actually a stuffed Spider-Man doll. This is a perfect toy make an add on for, as at the time of me writing this, the third installment of the MCU Spider-Man series is releasing in just a few months. And with that in tow, some of the marketing material has inspired what will be my next creation through 3D printing.
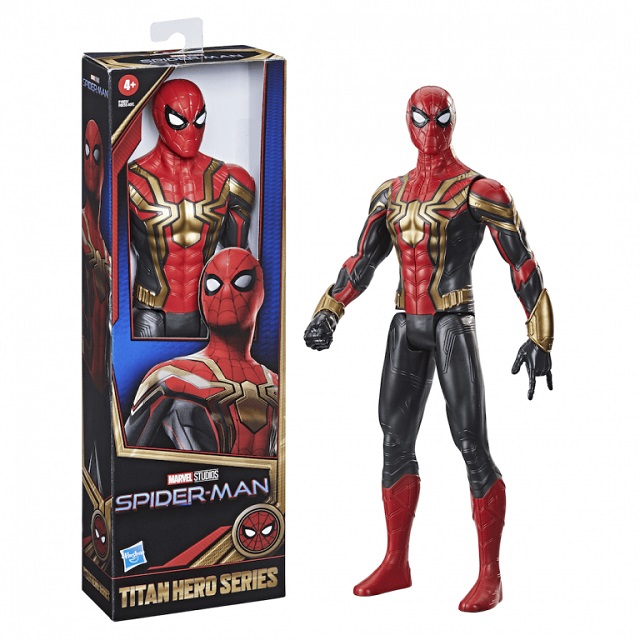
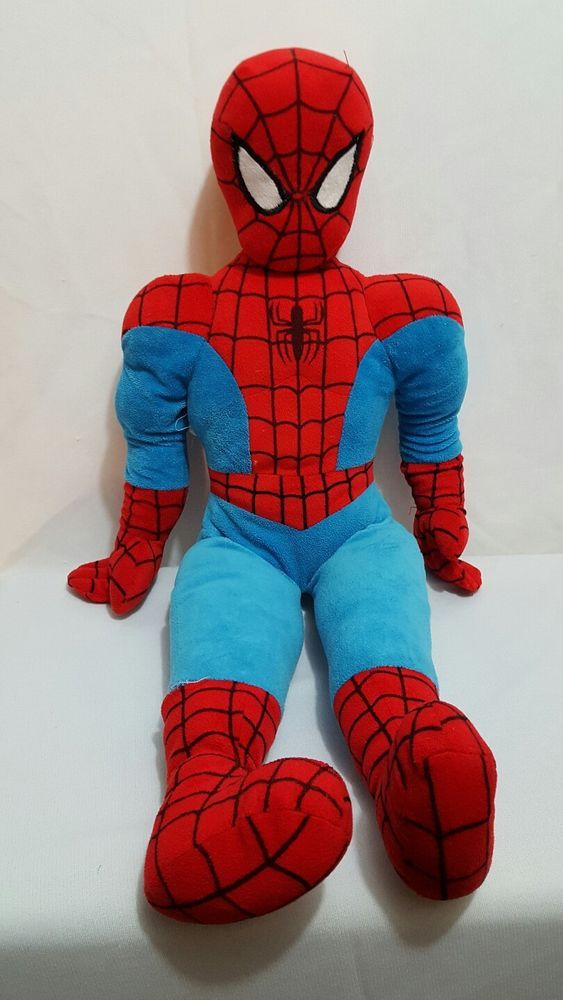
That marketing material that I mentioned is in fact one of the upcoming toys, which gives us a look at one of Peter Parker's new outfits for the film. Pictured below, we can see what is no doubt an update to the Iron Spider suit Peter got in the Avengers Infinity War movie. However, I don't plan on printing a full suit for my son's Spidey plush (pictured below the new toy armor). What I plan on doing is just printing the golden parts of the suit, namely the spider that makes up the chest armor and belt, as well as the web shooting gauntlets. My son's toy sports the classic Spider-Man suit, so adding just those parts will put it close enough to the actual toy in the eyes of my children, while letting the toy continue to be be mostly posable.
The first step in creating this add on is determining how big it will need to be. Measuring a plush toy is actually quite tricky, as it has plenty of grooves and ridges that will move and adjust to the pressure put on it. For the first prototype of this armor add-on, I only printed the center spider emblem. I did this to get a feel on sizing and how the flat part will blend with the rounded chest of the toy. Another thing I wanted get a grip on with this is the durability. 3D printing puts the designer in total control of how hollow or how thick the printed part is. What I was aiming to do is maximize the add-on's durability while seeing how much print material I could save. This thing will be thrown across a room in play time, so it cannot be too fragile.
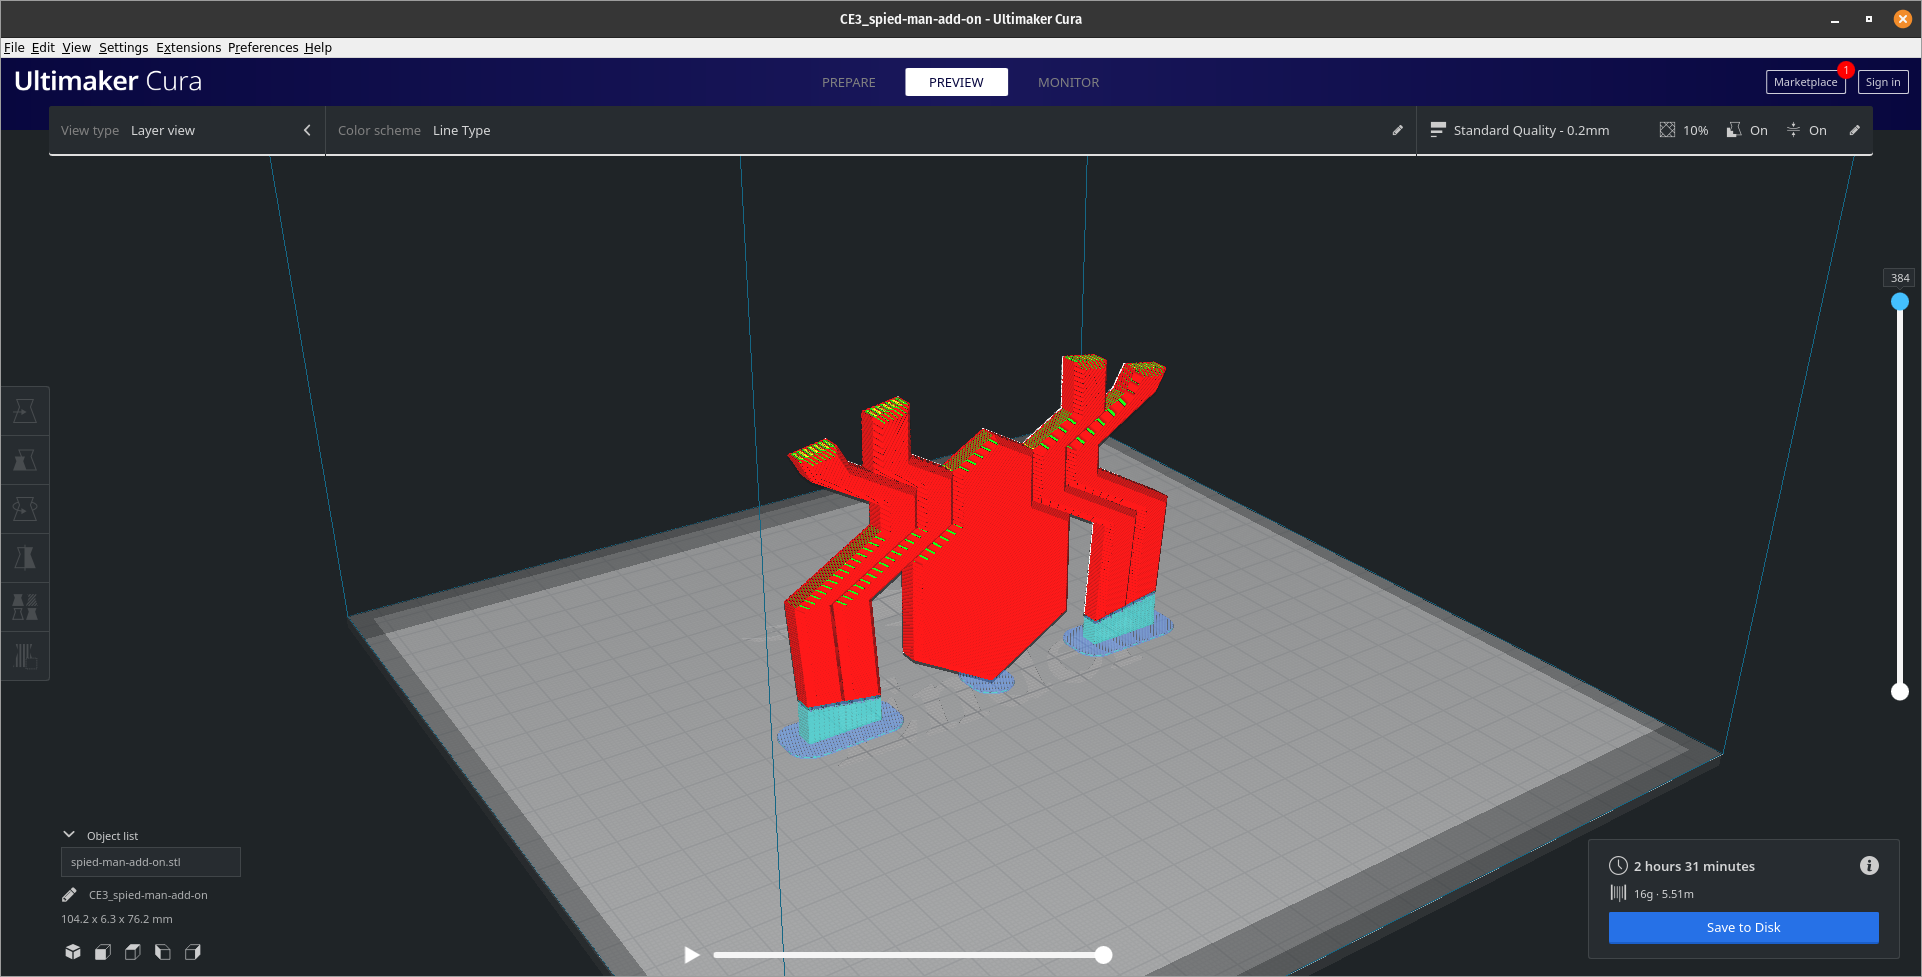
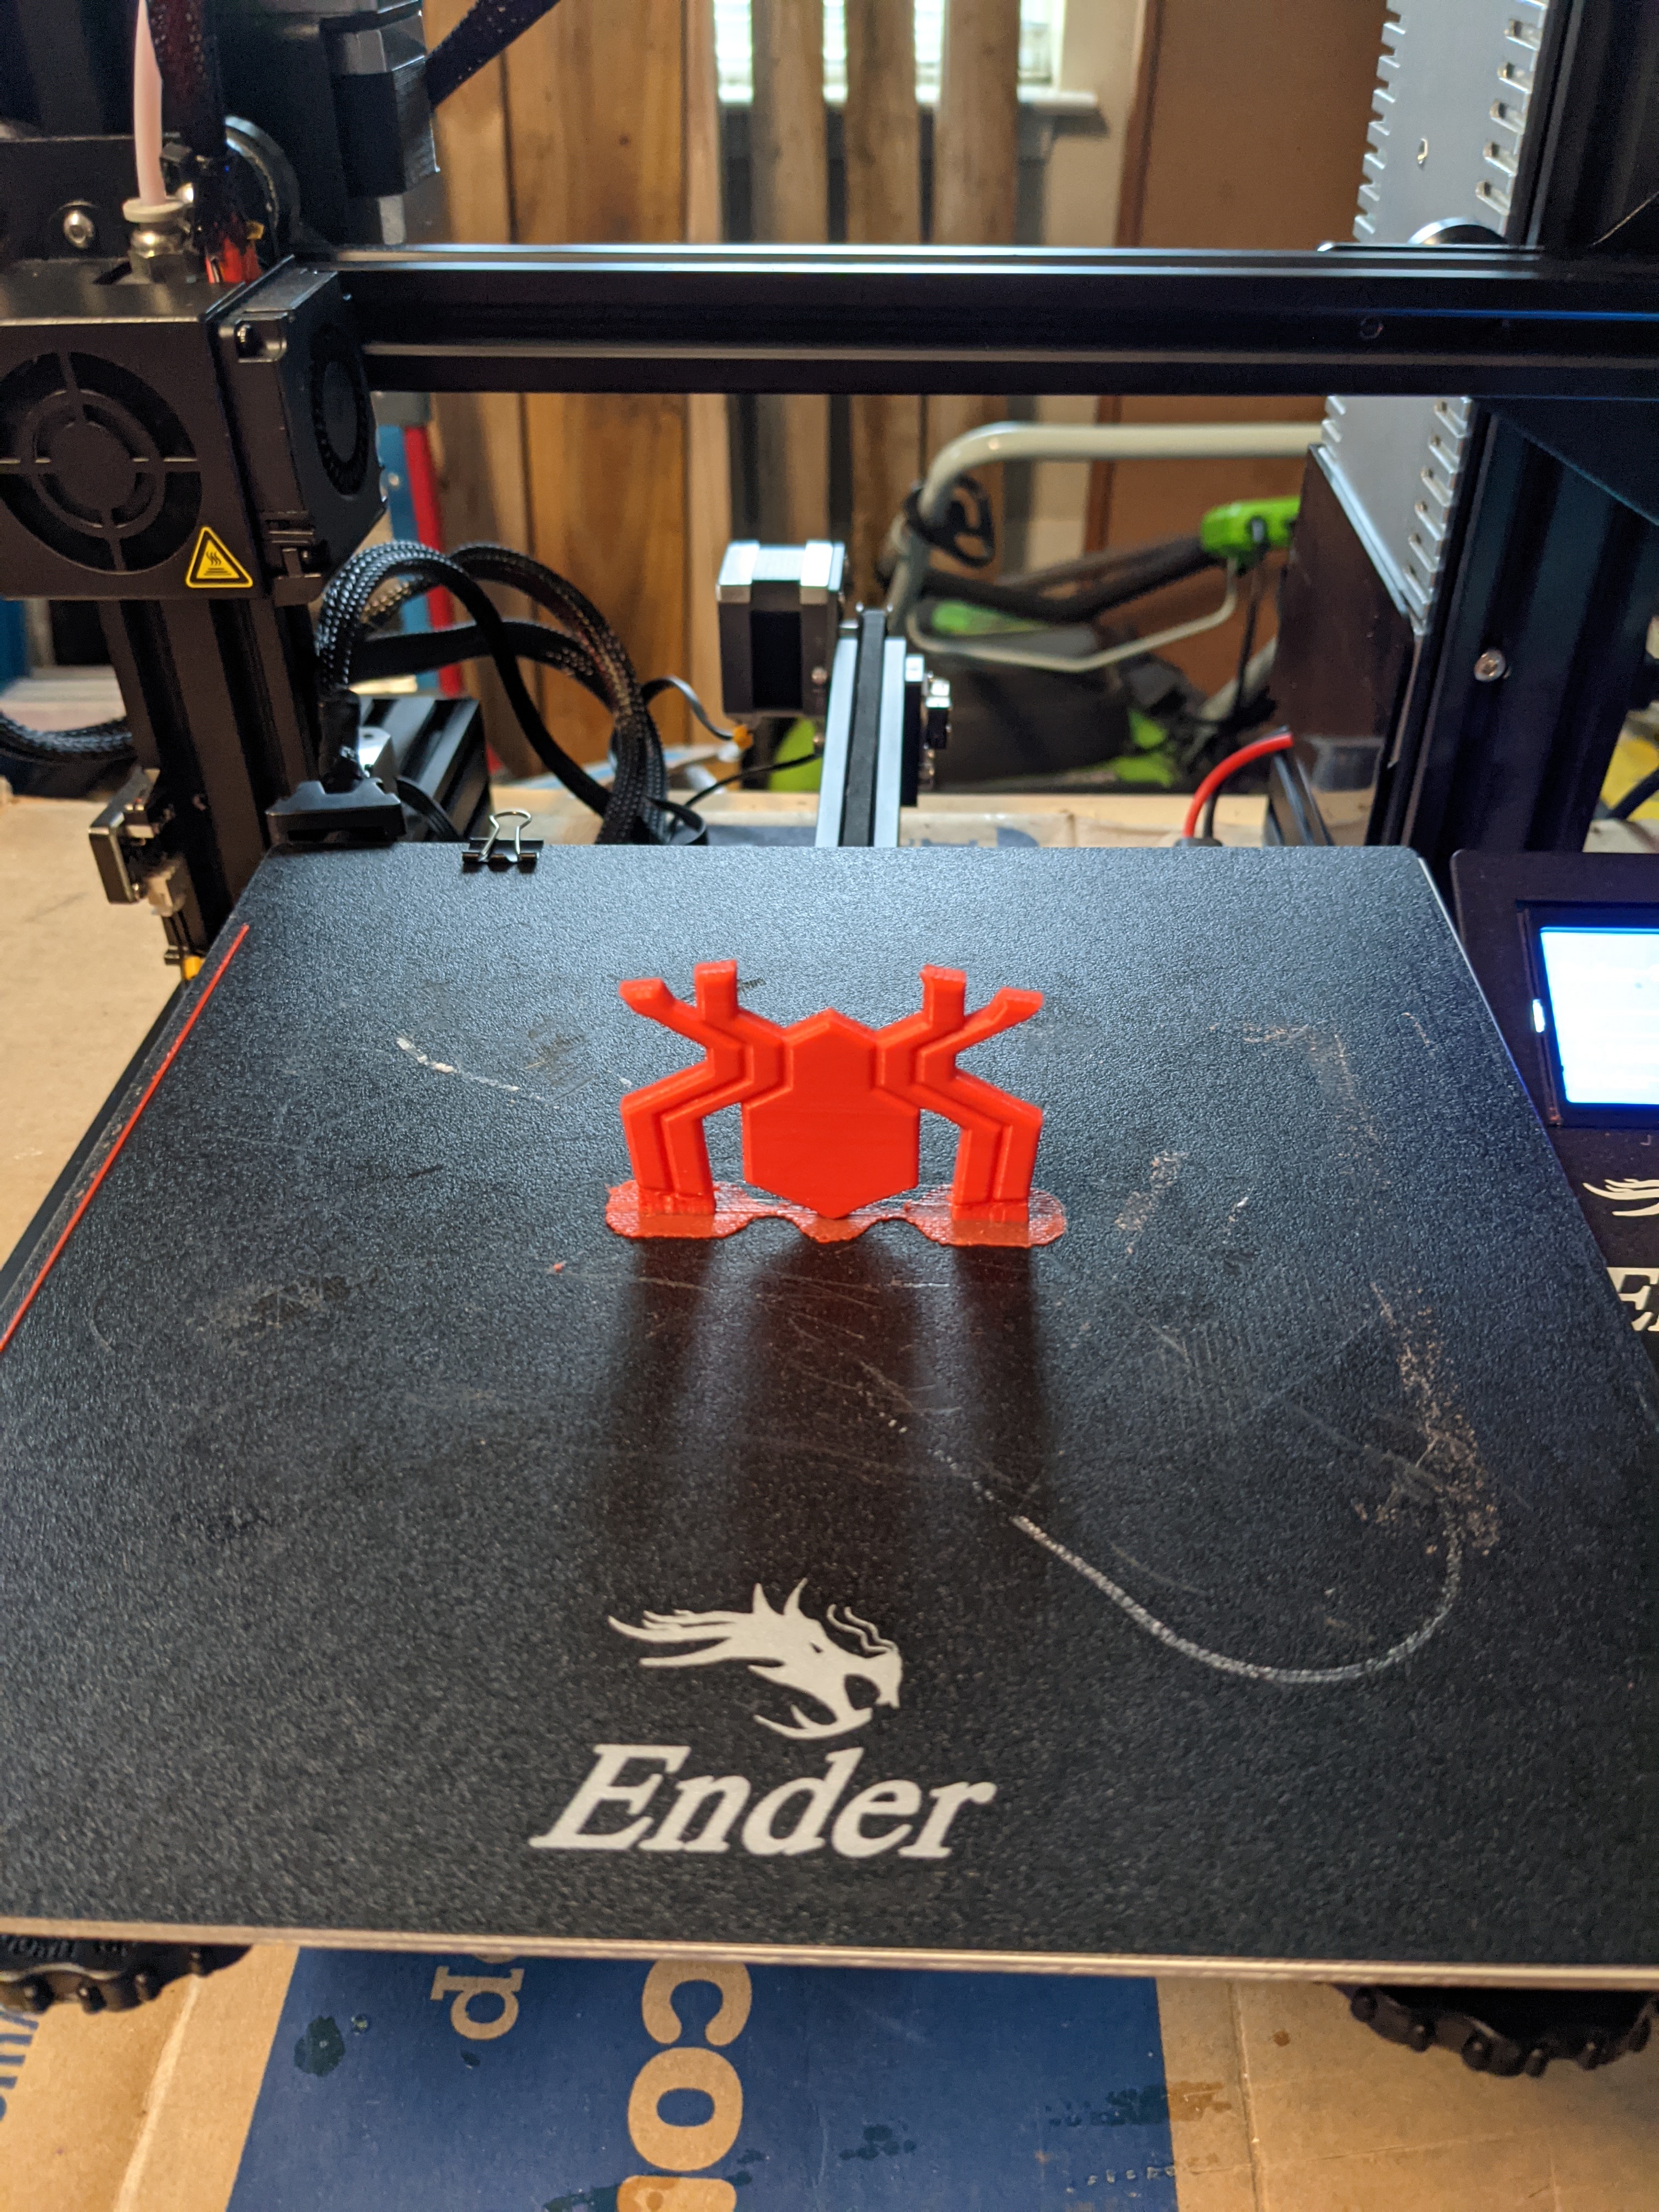
So with the prototype all printed and placed, what did I learn? For one, measurement is key. I tried to eyeball some the dimensions, and came out a bit off. This is one of the reasons the phrase "Measure twice, cut once" exists. If you can't tell from the picture below, the bottom legs of the printed spider do not reach out to the red/blue seam of the plush Spider-Man, much like it should in the new spider man costume. Another issue is that the center of the printed spider does not fully hide the black spider on the front of the plush. With this info in mind, I decided to print out a larger version to see how it would fit as well.
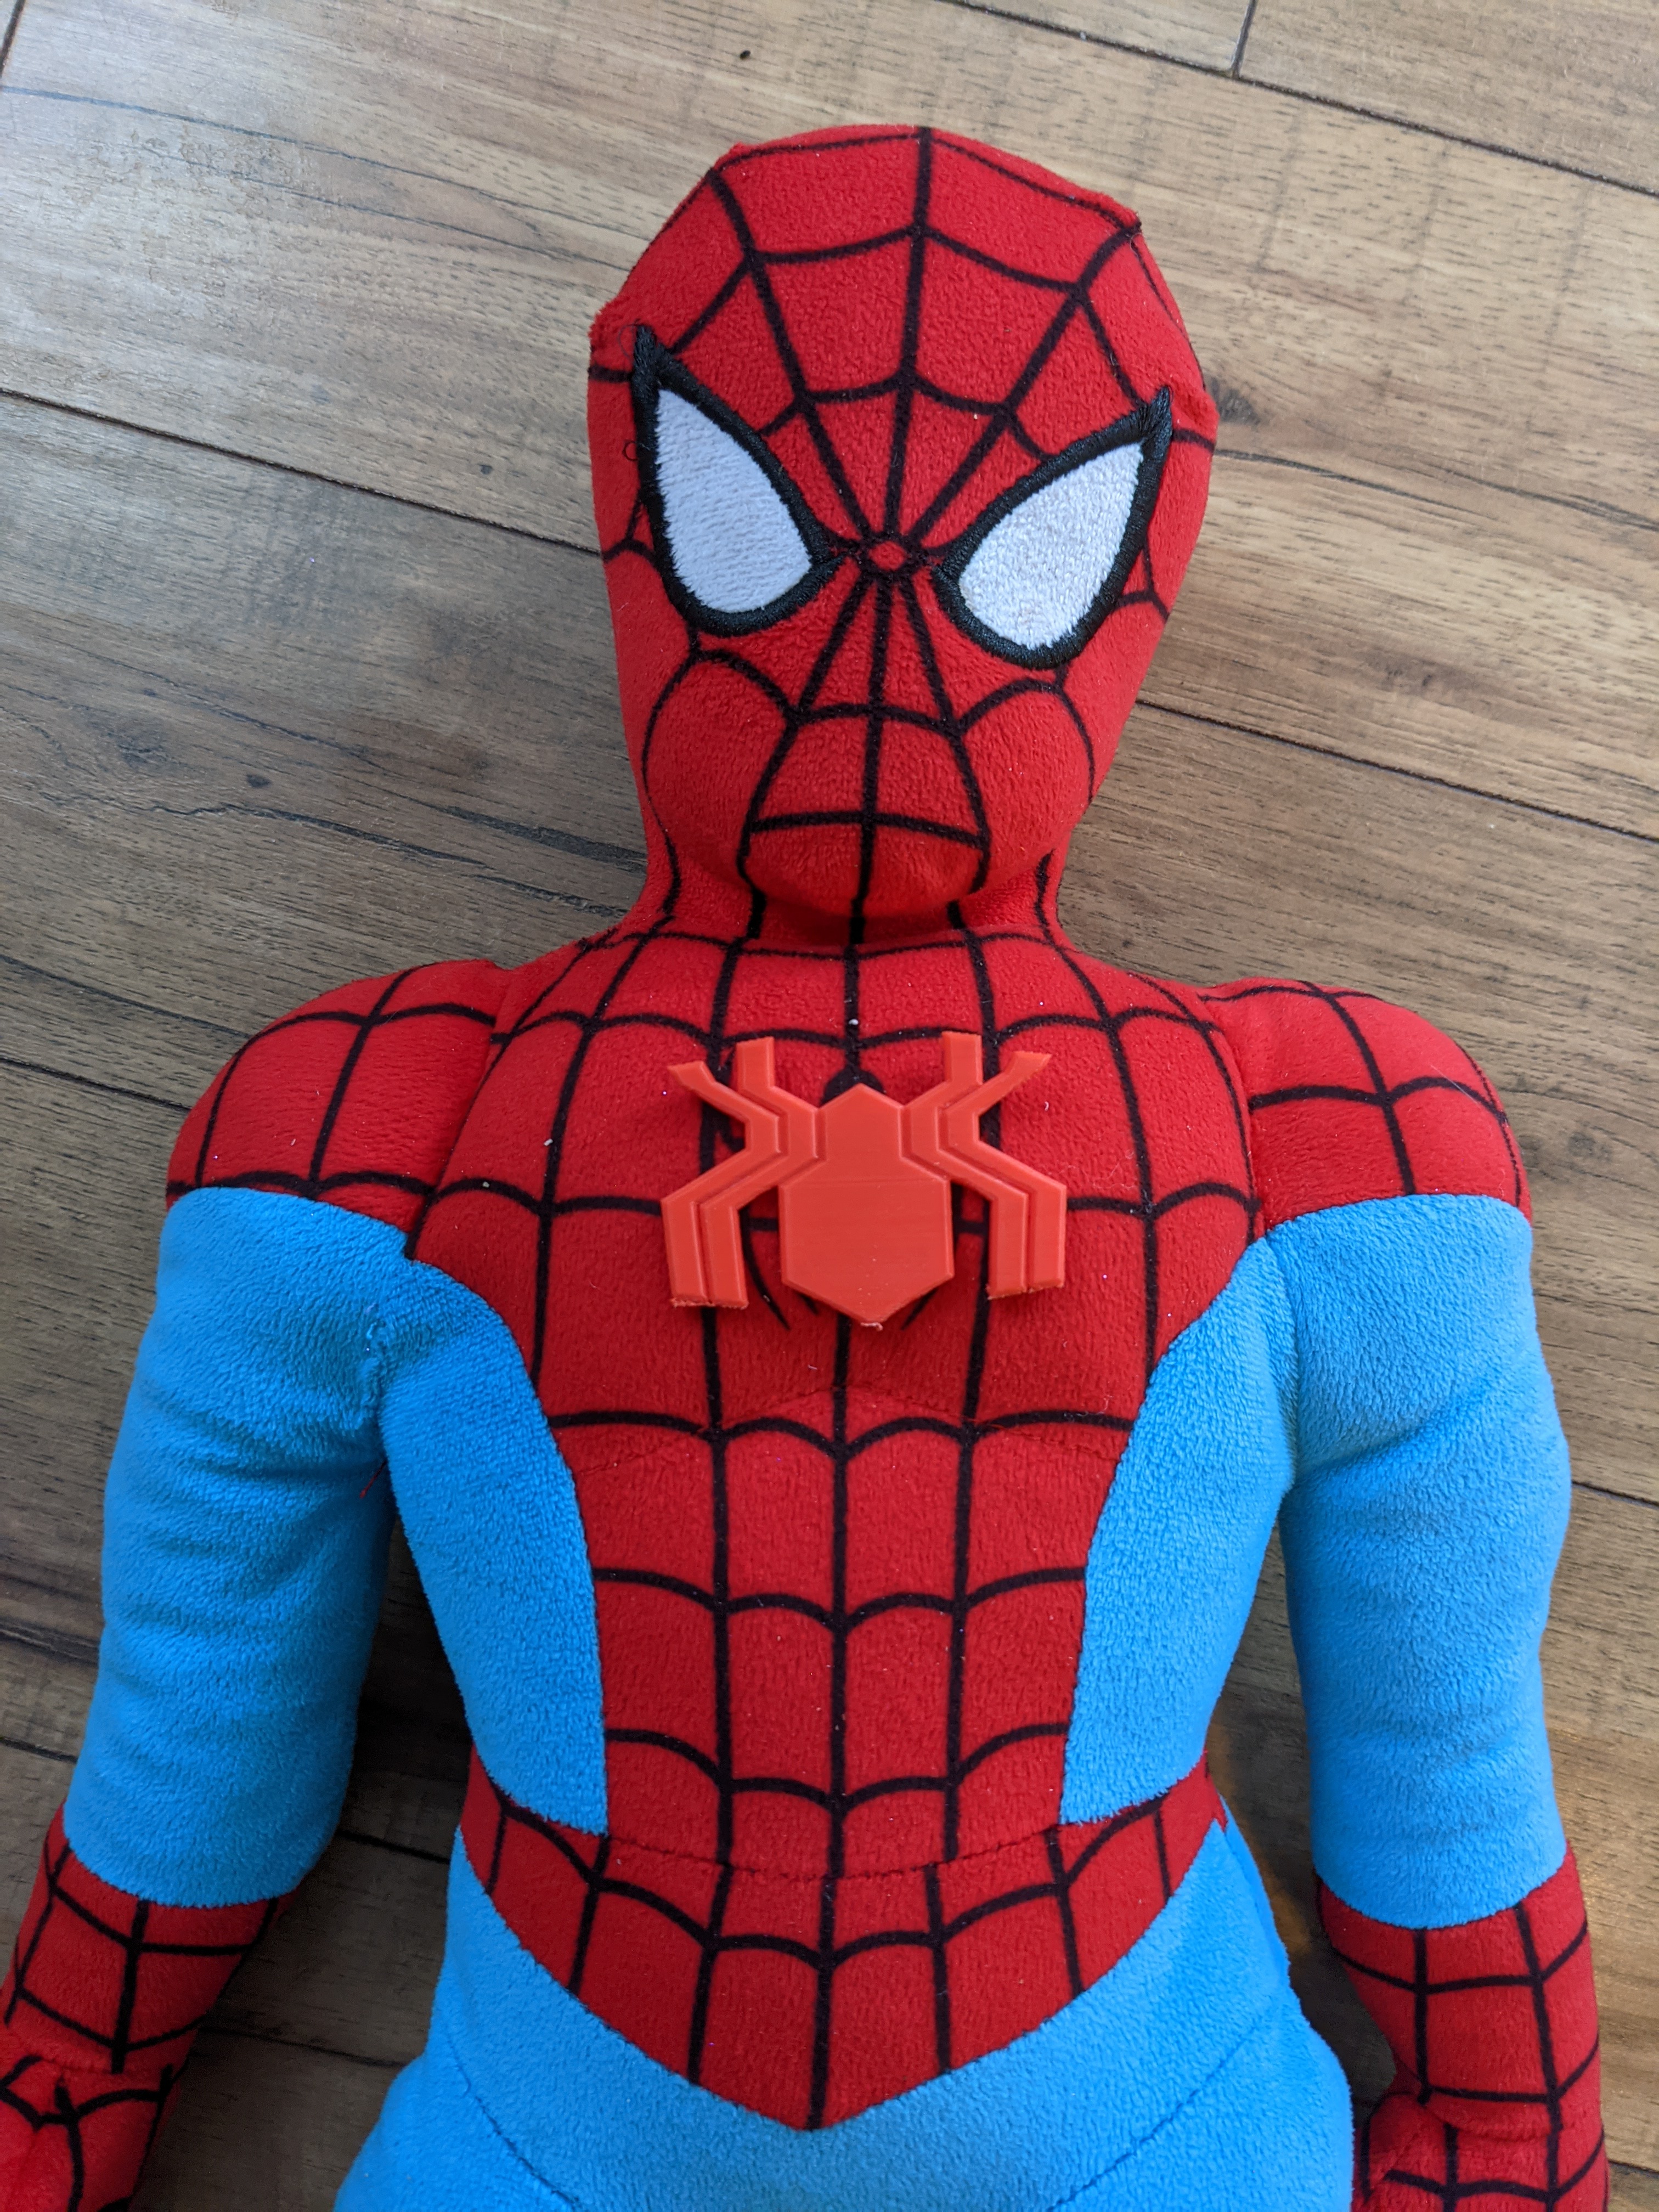
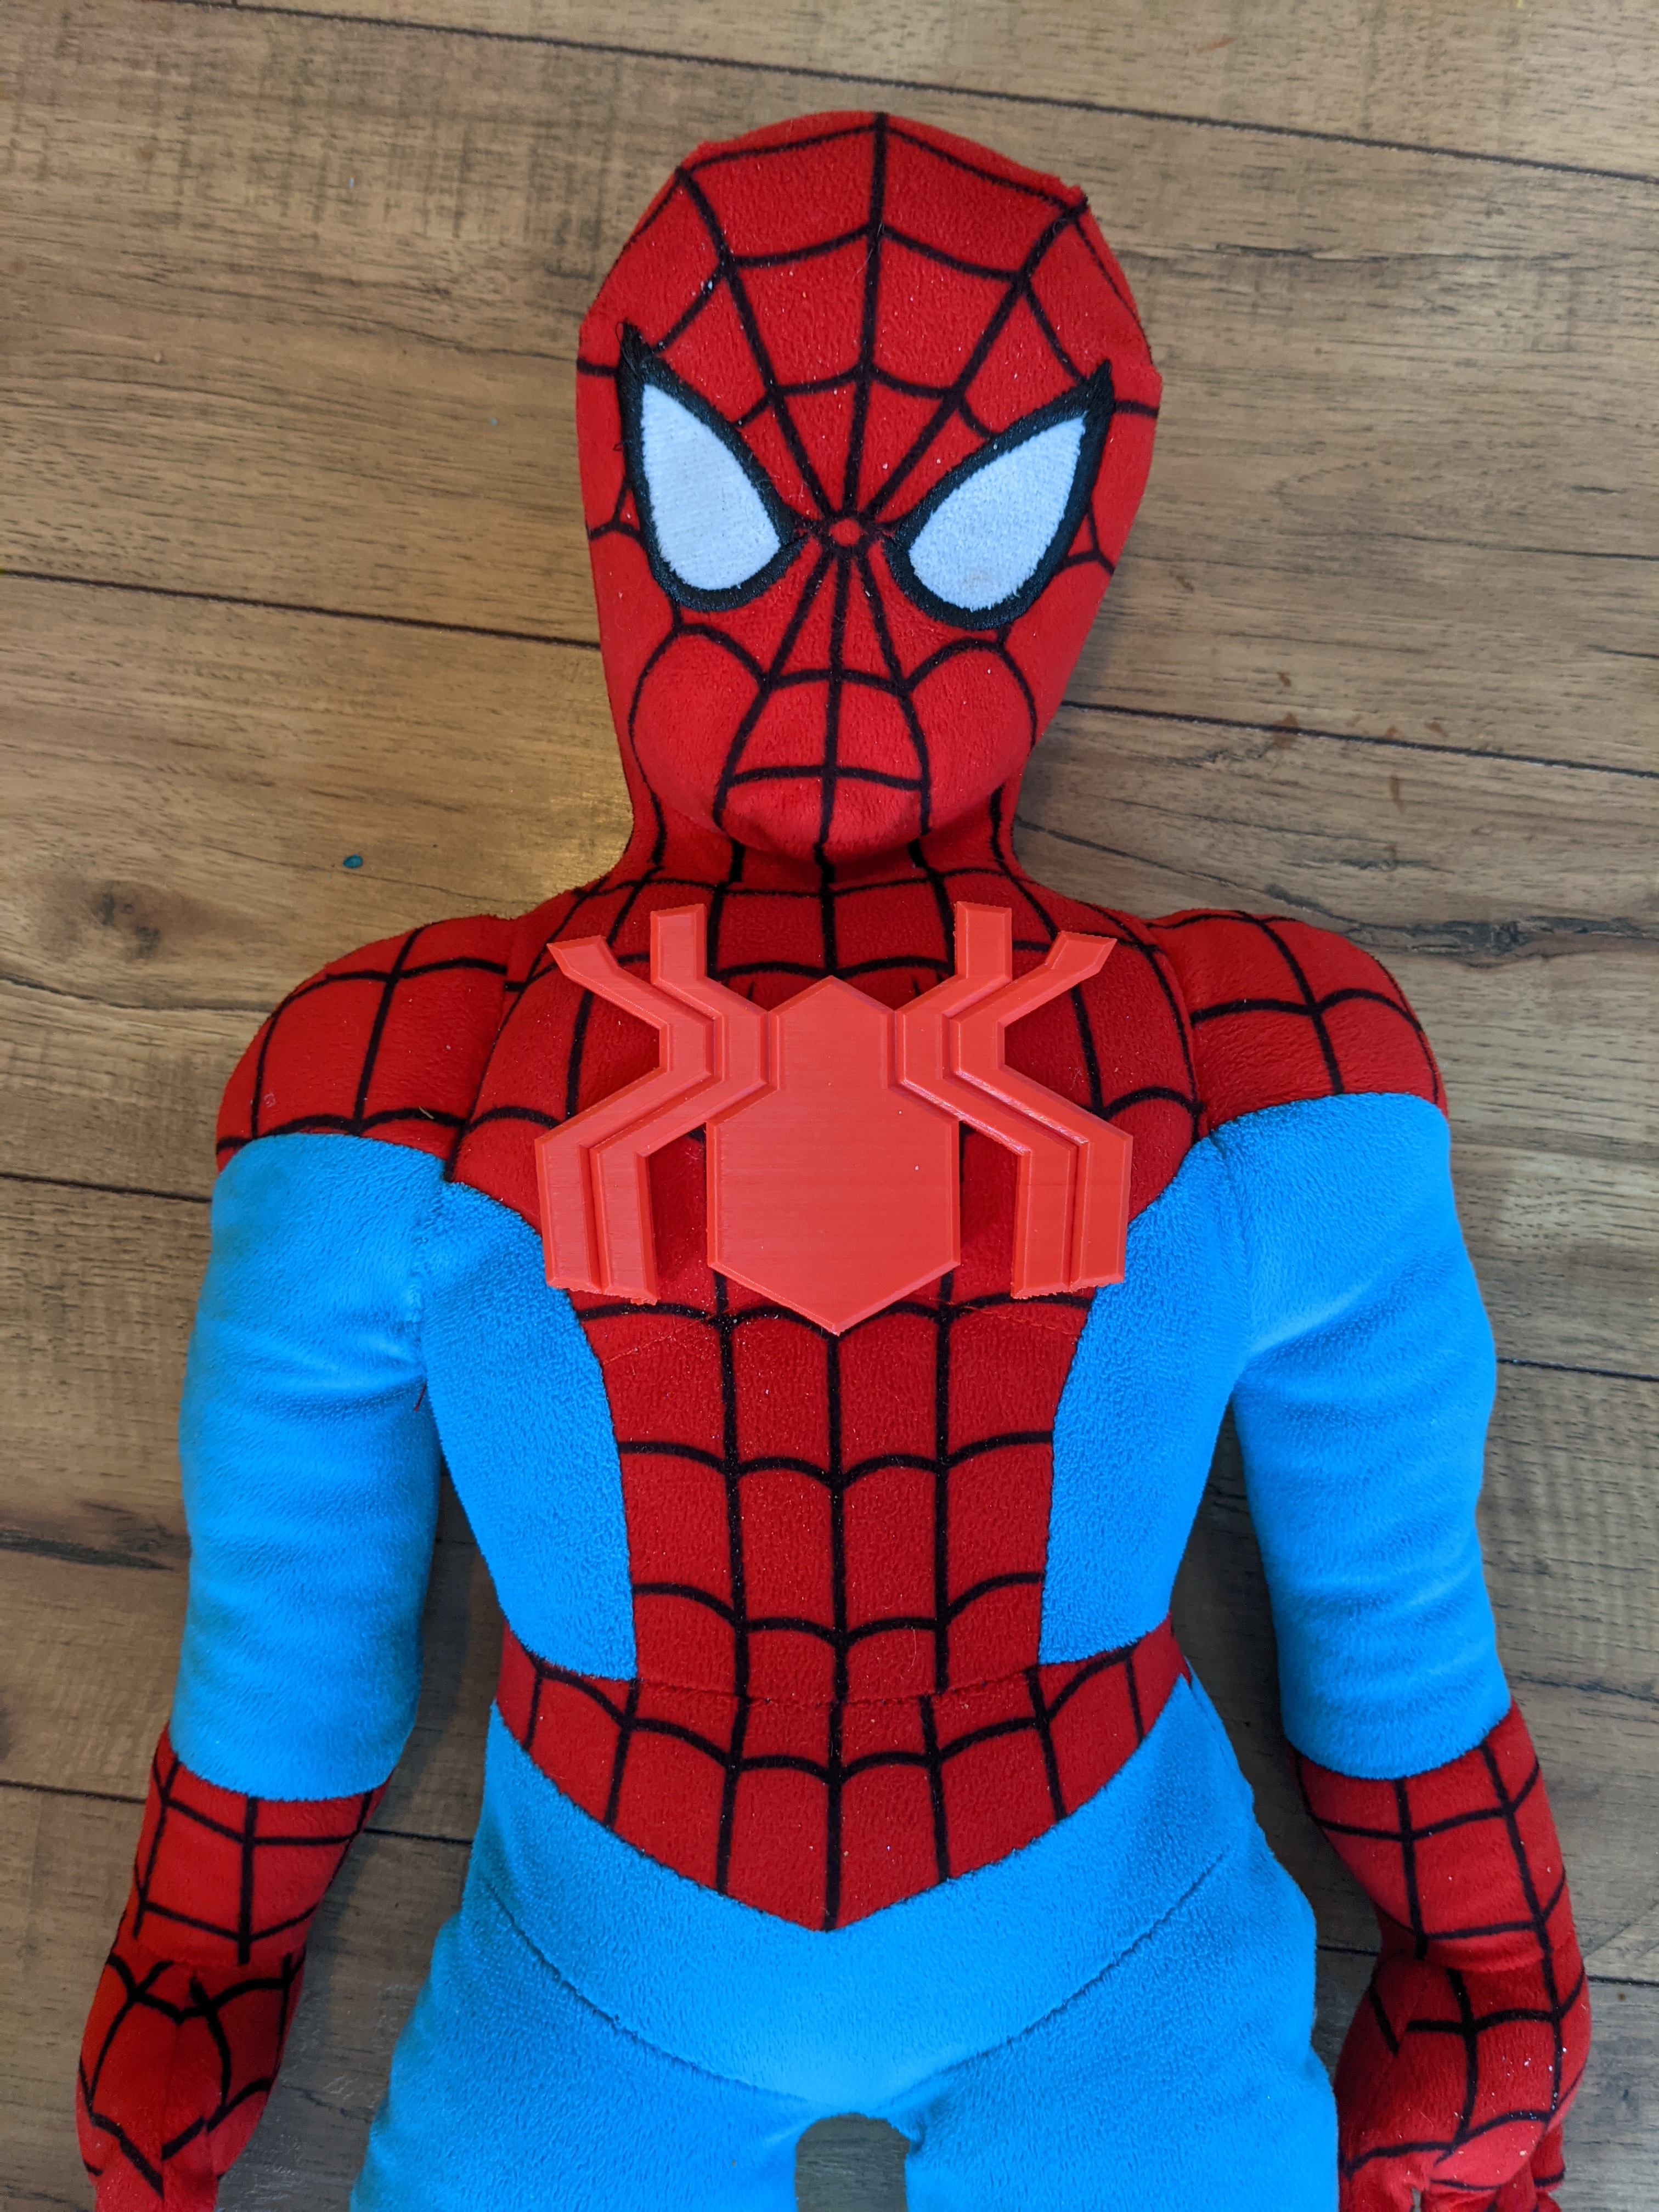
We sure are closer! The black spider on the toy's chest is hidden, and the bottom legs do barely meet the red/blue seam. This is good progress, and gives me a good jumping point to develop the next prototype of the spider armor, which I will go into further detail in the next post in this series.
Thank you for reading my blog, it means a lot to be able to share my hobbies and to reach others who might have the same. Please reach out if you want to see more of this 3D prototyping series, and leave suggestions of what else you'd like to read.